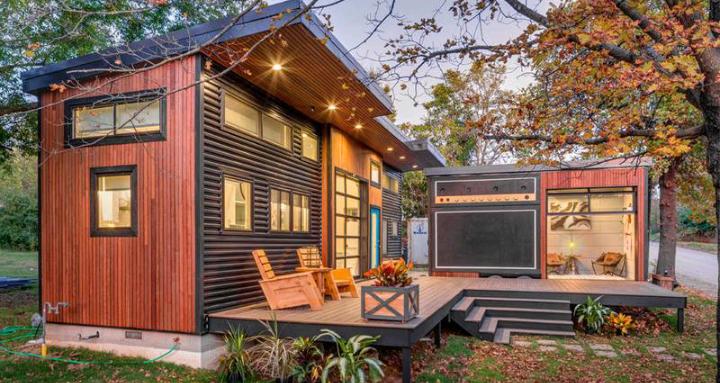
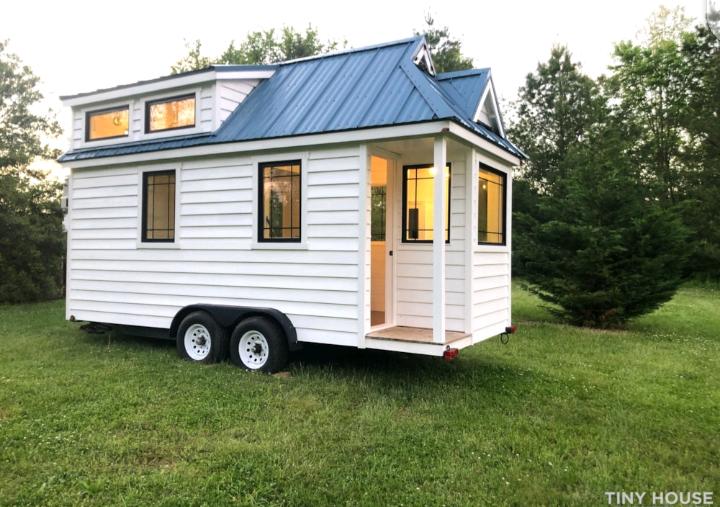
Living in a tiny house is all about sustainability, efficiency, and embracing a minimalistic lifestyle. One essential component of this eco-friendly living is setting up solar panels to power your tiny home. A well-planned tiny house solar panel setup can provide all the energy you need while reducing your environmental footprint. Let’s explore how you can create a functional and efficient solar energy system for your tiny home.
Why Opt for a Tiny House Solar Panel Setup?

A tiny house solar panel setup is not just about saving money on energy bills; it’s about independence and environmental sustainability. Here’s why it’s a perfect match for tiny house owners:
- Energy Independence: You can live off the grid and avoid reliance on traditional power sources.
- Eco-Friendly Living: Solar energy reduces carbon emissions and aligns with sustainable tiny house living values.
- Cost-Effective: While the initial investment may seem high, long-term savings on energy bills are significant.
Key Components of a Tiny House Solar Panel Setup

To set up a reliable solar system, you’ll need the following components:
1. Solar Panels
The heart of your system, these panels capture sunlight and convert it into electricity. Look for high-efficiency panels that fit within the compact space of a tiny house, especially for energy-efficient tiny homes.
2. Battery Storage System
Batteries store the energy generated by your solar panels. Lithium-ion batteries are recommended for their durability and efficiency.
3. Charge Controller
This device regulates the flow of electricity from your solar panels to your batteries, preventing overcharging.
4. Inverter
An inverter converts the direct current (DC) from your solar panels into alternating current (AC), which powers your appliances.
Steps to Install a Tiny House Solar Panel Setup

Here’s a step-by-step guide to setting up your solar system:
Step 1: Assess Your Energy Needs
Calculate the total energy your tiny house will consume daily. This will help you determine the size of your solar system and ensure it meets your needs for off-grid solar systems.
Step 2: Choose the Right Solar Panels
Consider factors like efficiency, size, and cost. Opt for monocrystalline panels for maximum output in limited space.
Step 3: Install the Panels
Place your panels in an area that receives maximum sunlight, typically on the roof of your tiny house or on a ground-mounted frame.
Step 4: Connect the Components
Link your solar panels, battery system, charge controller, and inverter in a sequence for seamless energy flow.
Step 5: Test the System
Once installed, test the system to ensure it’s generating and storing power efficiently.
Benefits of a Well-Designed Tiny House Solar Panel Setup

- Portability: Solar systems can be customized for mobility, ideal for tiny houses on wheels.
- Low Maintenance: With occasional cleaning and system checks, your setup will last for years.
- Scalability: Start small and add more panels or batteries as your energy needs grow.
By investing in a high-quality off-grid solar system, you can fully embrace the potential of sustainable tiny house living.
LSI Keywords to Enhance Your Knowledge
- Off-grid solar systems
- Sustainable tiny house living
- Energy-efficient tiny homes
Conclusion
A properly designed tiny house solar panel setup can revolutionize how you power your tiny home. By understanding your energy needs, choosing the right components, and installing them correctly, you can enjoy a self-sufficient, eco-friendly lifestyle. Whether you aim to achieve sustainable tiny house living or want to build one of the most energy-efficient tiny homes, solar panels are a must-have.
Ready to make the switch? Start planning your tiny house solar panel setup today!
